

Access User Management: As an Admin, you’ll see two options:
- “Manage Users”
- “View Users”
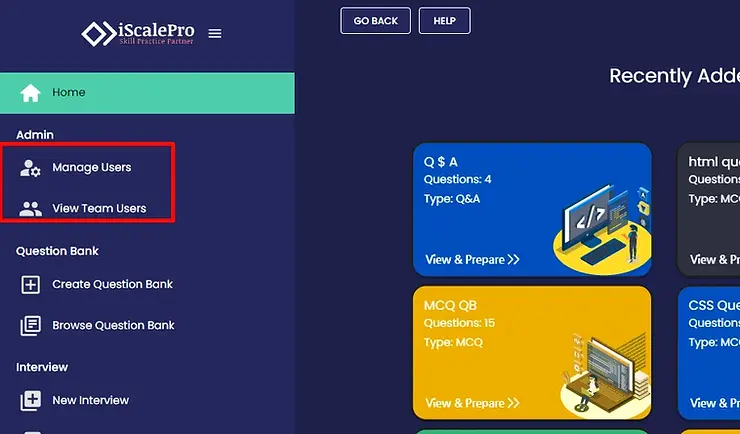
Viewing Existing Users (Optional):
- Click “View Users” to see a list of everyone with access to your iScalePro account.
- You can filter this list by team or view the entire organization.

Adding Users – Two Methods:
Manual (One by One):
- Click the “Add User” button in the top right corner.
- A pop-up window will appear. Enter the user’s:
- Email address
- Business Role
- Select their Team
- Assign their Team Role

Bulk Import (Large Number of Users):
- Click the “Import Users” button next to “Add User.”
- Follow the prompts to upload a CSV file containing the user information (email, role, team, etc.).

Important Notes:
- CSV Format: If you’re using the bulk import option, ensure your CSV file is formatted correctly. iScalePro will likely provide a template or instructions on the required format.
- Permissions: Be sure to assign the correct team roles to new users so they have the appropriate access within iScalePro.
Now let’s see how to remove users from iScalePro:
Change/Update User Permissions: Within the “Manager User” menu, locate the user you want to modify.

On the far right, click the “Edit” button.

In the popup, you can adjust the following:
- Business Role: (e.g., Admin, Manager, User)
- Team: (Assign to a different team)
- Team Role: (e.g., Team Lead, Member)

Remove Users from Your Company Account: Next to the “Edit” button, click the “Remove” button.

A popup will appear with two options:
- Remove from Business: This removes the user from your entire company account.
- Remove from Team: This removes the user from their current team only.
Select the appropriate option(s) based on your needs.

Important Note: Removing a user from your business account will revoke their access to all teams and data within iScalePro.
